はじめに
以下の記事で、React で画像や Excel ファイルを API Gateway + Lambda(C#) 経由で S3 にアップロードする方法をご紹介しました。
せっかくですので、S3 から画像ファイルを API Gateway + Lambda(C#) 経由でダウンロードする方法も調べたのでご紹介します。画像は PNG 形式となりますが、ほとんどのバイナリファイルで適用可能だと思います。
なお、この記事では前記事を前提とします。説明が簡略化されているのでご了承ください。
目次
システム構成
システム構成のイメージは以下のようになります。
React <- (File download) <- API Gateway + Lambda(C#) <- (Get file) <- S3
この構成にすることによって、S3 のバケットを公開する必要がなくなり安全な処理が可能となります。
前記事と同じように、React と API Gateway + Lambda(C#) 間で行うファイル交換は Base64 でエンコードされたファイルになります。
Lambda(C#) 関数の作成
Lambda(C#)関数では、S3 からファイルを取得して、Base64 にエンコードしてレスポンスを返します。
using System;
using System.Collections.Generic;
using System.Linq;
using System.Net;
using System.Text;
using System.IO;
using System.Threading.Tasks;
using Amazon.Lambda.Core;
using Amazon.S3;
using Amazon.S3.Model;
using Amazon.Lambda.APIGatewayEvents;
using Newtonsoft.Json;

[assembly: LambdaSerializer(typeof(Amazon.Lambda.Serialization.Json.JsonSerializer))]
namespace AWSLambda1
{
    public class Function
    {
        public async Task<APIGatewayProxyResponse> FunctionHandler(APIGatewayProxyRequest request, ILambdaContext context)
        {
            APIGatewayProxyResponse response = null;

            try
            {
                // S3のリージョンを指定する
                var s3 = new AmazonS3Client(Amazon.RegionEndpoint.APNortheast1);

                // 保存ファイルの設定
                var bucketName = "Your BucketName";
                var fileName = "sample.png";

                // S3リクエストの作成
                var s3Request = new GetObjectRequest()
                {
                    BucketName = bucketName,
                    Key = fileName
                };

                // Base64格納用変数宣言
                var base64String = "";
                var contentType = "";

                // S3からファイル取得
                using (var s3Response = await s3.GetObjectAsync(s3Request))
                using (var stream = s3Response.ResponseStream)
                using (var ms = new MemoryStream())
                {
                    stream.CopyTo(ms);
                    base64String = Convert.ToBase64String(ms.ToArray());
                    contentType = s3Response.Headers["Content-Type"];
                }

                // レスポンスの作成
                response = new APIGatewayProxyResponse
                {
                    StatusCode = (int)HttpStatusCode.OK,
                    Body = contentType + "," + base64String,
                    Headers = new Dictionary<string, string> {
                        { "Content-Type", "application/json" },
                        { "Access-Control-Allow-Origin", "*" },
                        { "Access-Control-Allow-Credentials", "true" }
                    }
                };

            }
            catch (Exception e)
            {
                // CloudWatchにログ出力
                context.Logger.Log(e.Message);
                context.Logger.Log(e.StackTrace);

                response = new APIGatewayProxyResponse
                {
                    StatusCode = (int)HttpStatusCode.InternalServerError,
                    Body = e.Message,
                    Headers = new Dictionary<string, string> {
                        { "Content-Type", "application/json" },
                    }
                };
            }

            return response;
        }
    }
}
API Gateway の設定
API Gateway では、前記事の POST メソッドと同様に GET メソッドを作成します。
GETメソッドの「Lambda統合プロキシの使用」にチェックを入れ、CORS を有効化するのを忘れずに行い、API のデプロイを行います。
API の URL を控えます。
React プロジェクトの作成
React は TypeScript を使いたいので、以下のコマンドでプロジェクトを作成します。
> npx create-react-app プロジェクト名 --scripts-version=react-scripts-ts
また、XMLHTTPRequest では axios、Base64 のデコードには b64-to-blob、ファイルの保存には file-saver を使いたいので、以下のコマンドでインストールします。
> npm install --save axios
> npm install --save file-saver
> npm install --save b64-to-blob
React の処理では、GET リクエストで Base64 でエンコードされたファイルを含むレスポンスから、Base64 デコードし、Blob を作成してからファイルを保存するという流れになります。
App.tsx のコードは以下のようになります。
import axios from 'axios';
import b64toBlob from 'b64-to-blob';
import * as FileSaver from 'file-saver';
import * as React from 'react';

class App extends React.Component {
  public donlowdFile = async () => {
    let data = '';
    // XMLHTTPRequest で GET 取得を行う
    await axios.get('https://*.execute-api.ap-northeast-1.amazonaws.com/prod'
    ).then((res) =>  {
      // 取得したデータを変数に格納
      data = res.data;

    }).catch((e) => {
      alert('Error!' + e);
    });

    // サーバー側で Content-Type,Base64Stringで返すので加工
    const splitData = data.split(',');
    const contentType = splitData[0];
    const encodedBase64 = splitData[1];

    // blob を生成
    const blob = b64toBlob(encodedBase64, contentType);

    // 画像を保存
    FileSaver.saveAs(blob, "sample.png");
  }

  public render() {
    return (
      <div>
        <h1>File download sample</h1>
        <button onClick={this.donlowdFile}>
          Download File
        </button>
      </div>
    );
  }
}

export default App;
実際に動かしてみる
下記コマンドで、React のプロジェクトをビルド&実行します。
> yarn start
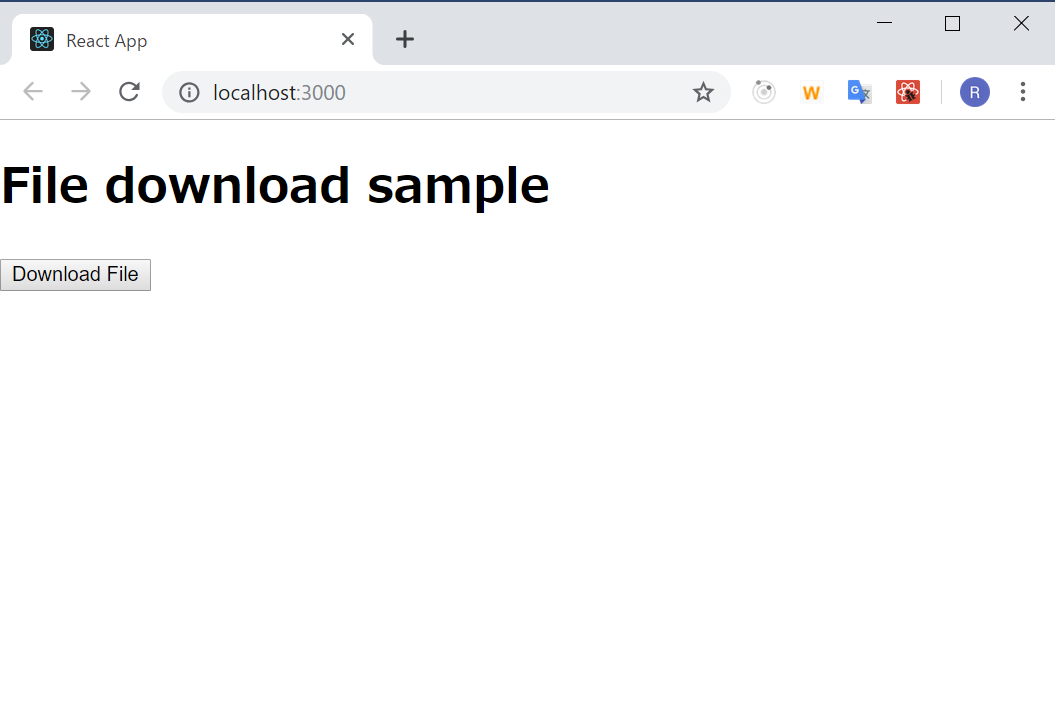
以下の画面でボタンをクリックします。

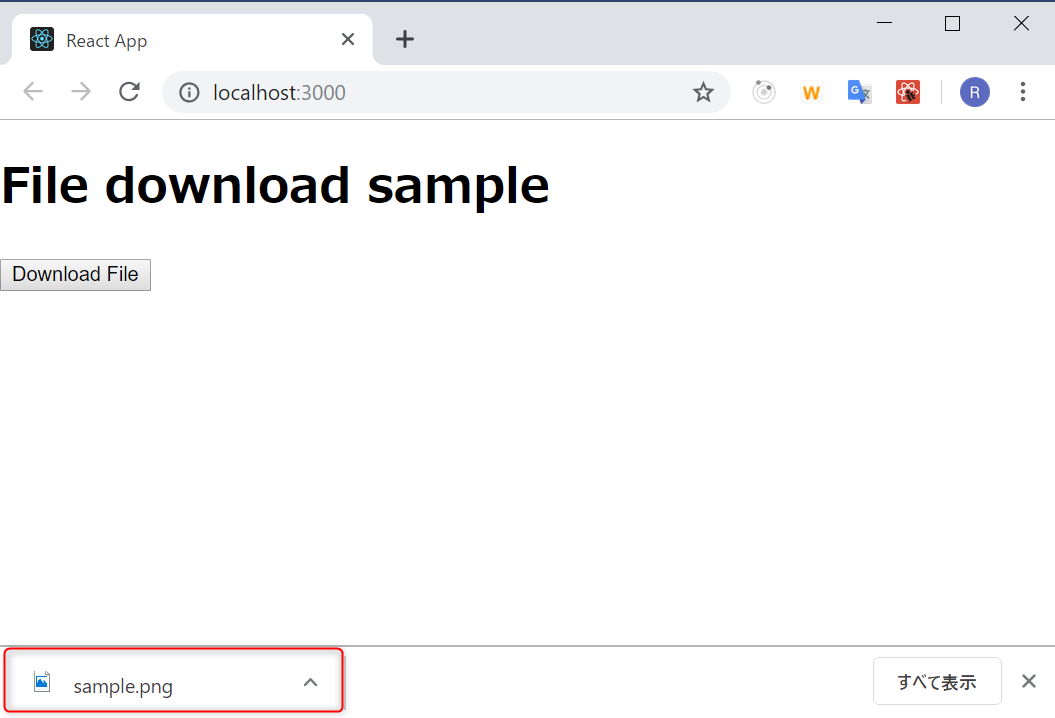
ファイルがダウンロードされました。

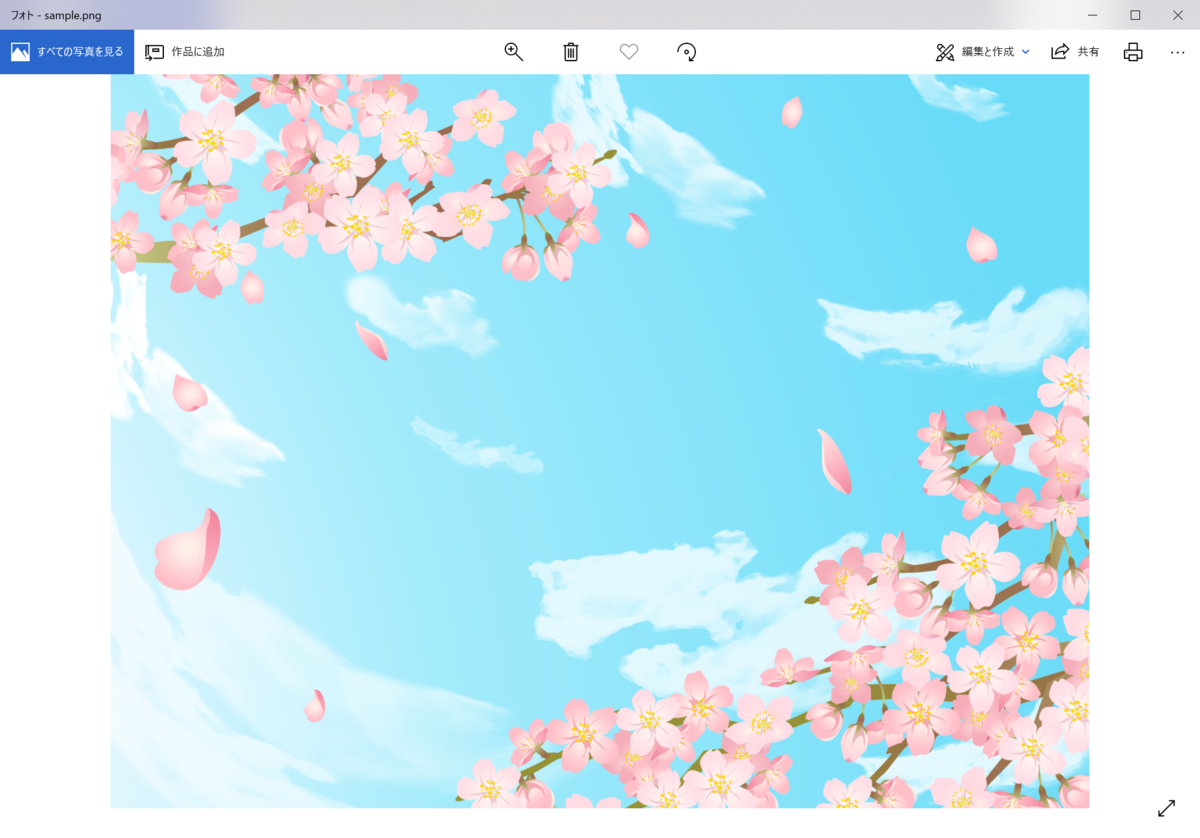
念のために PNG 画像(sample.png)を表示しても問題ありませんね。

おわりに
ファイルのアップロードには1週間も調査に時間がかかったのに、ダウンロードは意外と簡単にできました。
まあ、アップロードの調査成果が出たというところですが。
サンプルプログラムは PNG 固定ですが、サーバーから返す値を変えてあげればバイナリファイルのほとんどを扱うことができると思います。