はじめに
この記事は「Getting Started:Serving Web Content with Spring MVC」から、実際に動作させてみたことを記録したものになります。
Spring Boot アプリケーションを作成することから始めます。
作業環境は、以下の通りです。
- Java 1.8 以降
- IntelliJ IDEA Community Edition
IntelliJ IDEA Community Edition のダウンロードとインストールは、下記記事を参考にしてください。
Spring Boot のプロジェクト作成
IntelliJ IDEA Community Edition は無償で商用利用も可能な IDE ですが、Spring Boot のプロジェクトを作成できません。
ですので、以下の Spring Initializr というサイトで Spring Boot のプロジェクトを作成します。
基本的にデフォルトなのですが、Dependencies に いくつか追加しています。
| 項目 | 設定値 | 備考 |
|---|---|---|
| Project | Maven Project | デフォルト |
| Language | Java | デフォルト |
| Spring Boot | 2.1.6 | デフォルト |
| Project Meta | (Group) com.example | デフォルト |
| (Artifact) demo | デフォルト | |
| options | デフォルト | |
| Dependencies | Spring Web Starter | 追加 |
| Thymeleaf | 追加 | |
| Spring Boot WebTools | 追加 |
設定ができたら、[Generate the project] をクリックして、自動生成される demo.zip をダウンロードします。
解凍して作成された demo フォルダを IntelliJ IDEA Community Edition で開いたら、Spring Boot のプロジェクト作成は完了です。
コントローラーの作成
リクエストを受け付けるコントローラーを作成します。
src/main/java/com.example.demo/GreetingController.java
package com.example.demo;

import org.springframework.stereotype.Controller;
import org.springframework.ui.Model;
import org.springframework.web.bind.annotation.GetMapping;
import org.springframework.web.bind.annotation.RequestParam;

@Controller
public class GreetingController {

    @GetMapping("/greeting")
    public String greeting(@RequestParam(name="name", required = false, defaultValue = "World") String name, Model model) {
        model.addAttribute("name", name);
        return "greeting";
    }
}
ビューのテンプレート作成
表示するビューのテンプレートを作成します。Thymeleaf テンプレート使用します。
src/main/resources/templates/greeting.html
<!DOCTYPE HTML>
<html xmlns:th="http://www.thymeleaf.org">
<head>
    <title>Getting Started: Serving Web Content</title>
    <meta http-equiv="Content-Type" content="text/html; charset=UTF-8" />
</head>
<body>
    <p th:text="'Hello, ' + ${name} + '!'" />
</body>
</html>
動作確認
DemoApplicationクラスを右クリックして、[Run DemoApplication.main()]をクリックして Spring Boot を起動します。
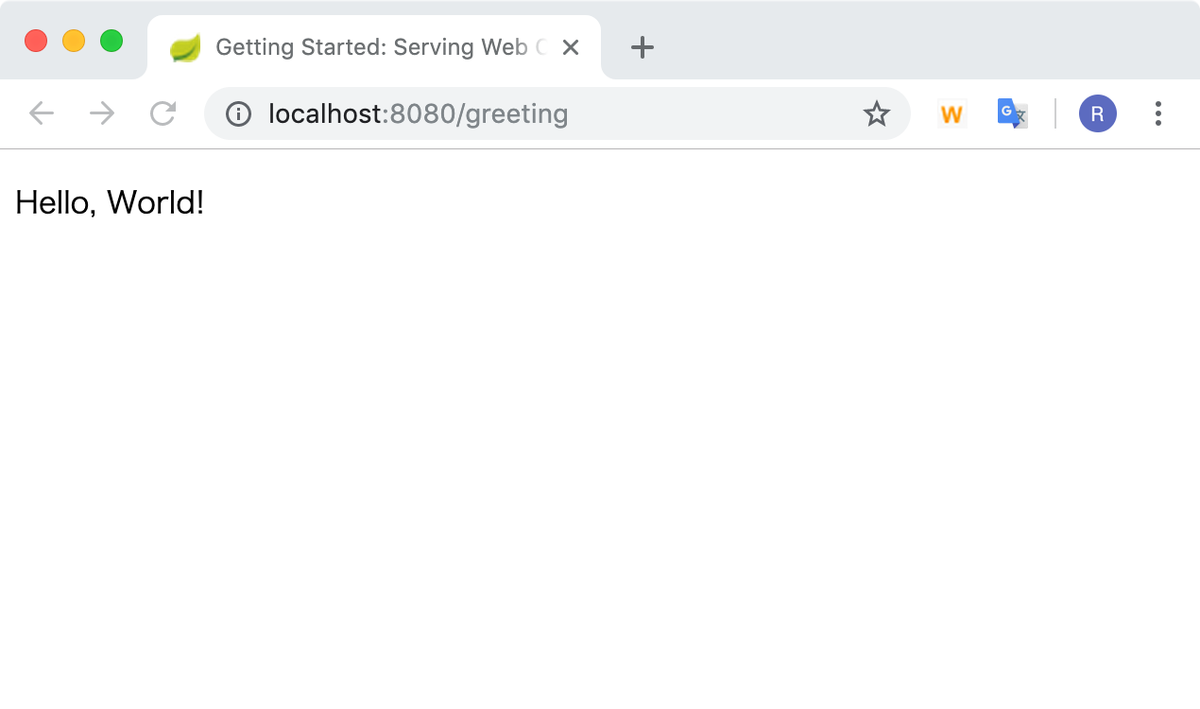
http://localhost:8080/greetingにブラウザでアクセスすると、予想通りの表示がされました。

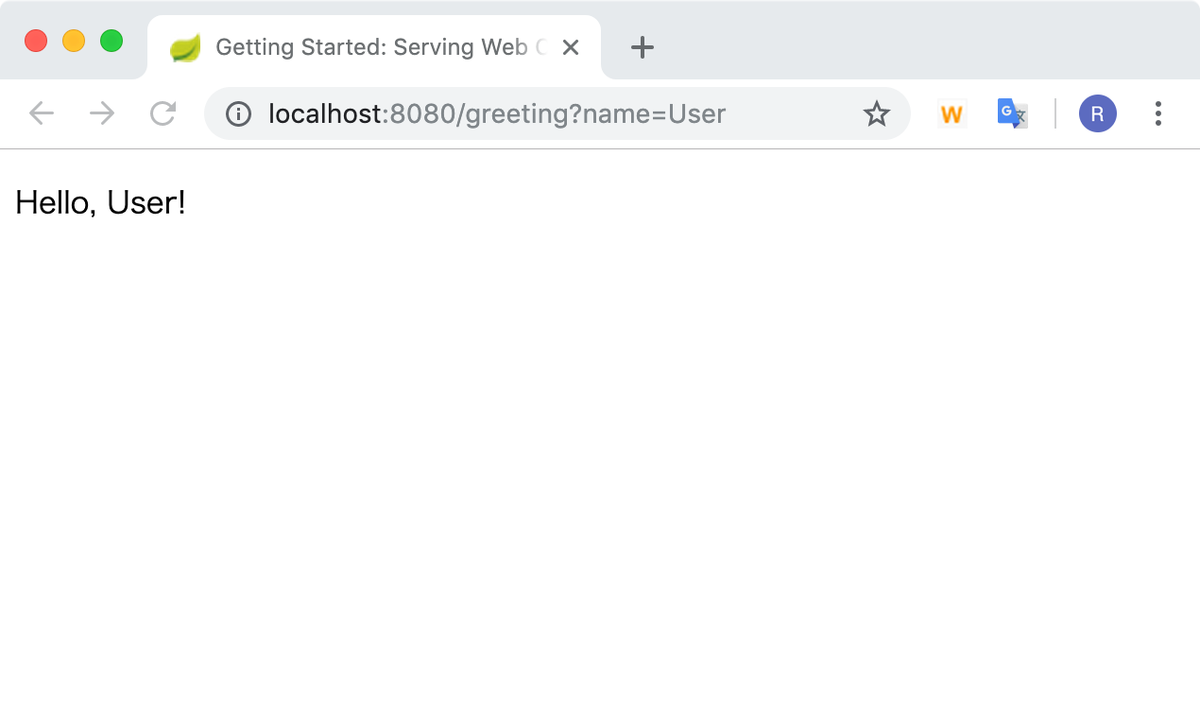
今度は、nameパラメータを付けてhttp://localhost:8080/greeting?name=Userでアクセスすると、ちゃんと内容が反映されていますね。

トップページの作成
index.htmlという静的ページを作成します。
src/main/resources/static/index.html
<!DOCTYPE HTML>
<html>
<head>
    <title>Getting Started: Serving Web Content</title>
    <meta http-equiv="Content-Type" content="text/html; charset=UTF-8" />
</head>
<body>
<p>Get your greeting <a href="/greeting">here</a></p>
</body>
</html>
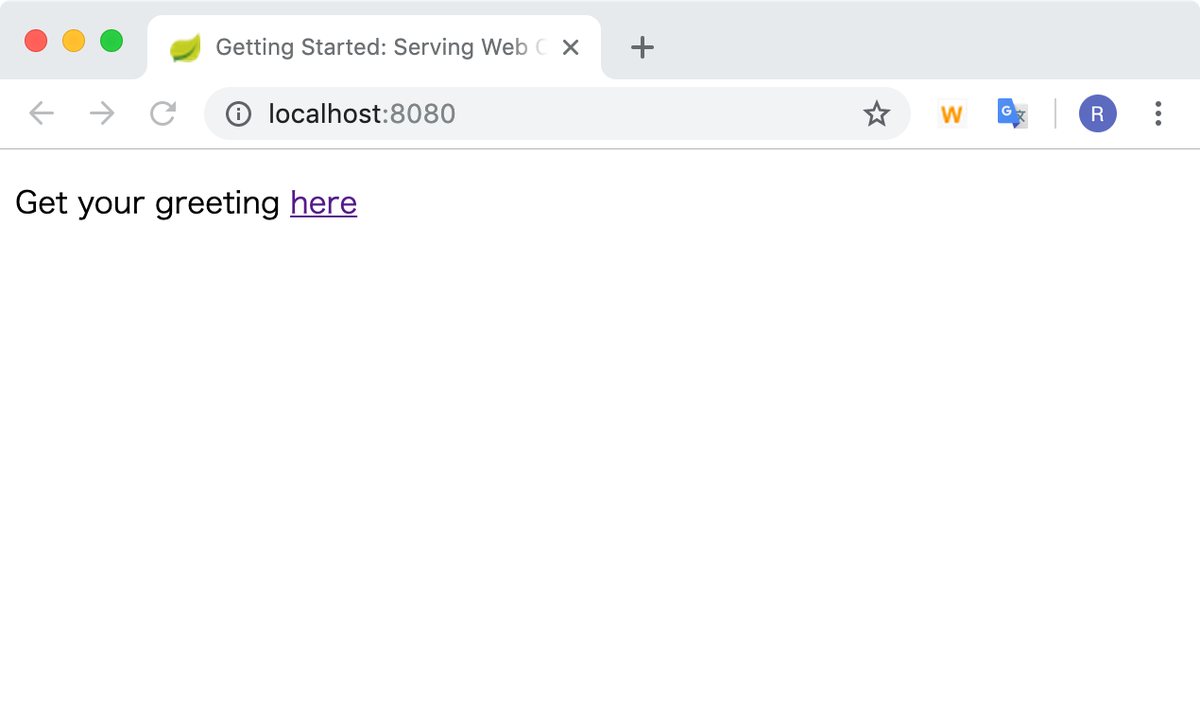
http://localhost:8080でアクセスすると、ちゃんと表示されますね。

おわりに
Getting Start は原文には英語ですが詳細な解説がされています。
是非参考にしてみてください。