はじめに
この記事は「Getting Started:Building an Application with Spring Boot」から、実際に動作させてみたことを記録したものになります。
Spring Boot アプリケーションを作成することから始めます。
作業環境は、以下の通りです。
- Java 1.8 以降
- IntelliJ IDEA Community Edition
IntelliJ IDEA Community Edition のダウンロードとインストールは、下記記事を参考にしてください。
Spring Boot のプロジェクト作成
IntelliJ IDEA Community Edition は無償で商用利用も可能な IDE ですが、Spring Boot のプロジェクトを作成できません。
ですので、以下の Spring Initializr というサイトで Spring Boot のプロジェクトを作成します。
基本的にデフォルトなのですが、Dependencies に Spring Web Starter を追加しています。
| 項目 | 設定値 | 備考 |
|---|---|---|
| Project | Maven Project | デフォルト |
| Language | Java | デフォルト |
| Spring Boot | 2.1.6 | デフォルト |
| Project Meta | (Group) com.example | デフォルト |
| (Artifact) demo | デフォルト | |
| options | デフォルト | |
| Dependencies | Spring Web Starter | 追加 |
設定ができたら、[Generate the project] をクリックして、自動生成される demo.zip をダウンロードします。
解凍して作成された demo フォルダを IntelliJ IDEA Community Edition で開いたら、Spring Boot のプロジェクト作成は完了です。
簡単な Web アプリケーションの作成
src/mainディレクトリの配下にcom.example.controllerパッケージを作成後、HelloControllerクラスを作成します。
package com.example.demo.controller;

import org.springframework.web.bind.annotation.RequestMapping;
import org.springframework.web.bind.annotation.RestController;

@RestController
public class HelloController {

    @RequestMapping("/")
    public String index() {
        return "Greetings from Spring Boot!";
    }
}
Spring Boot の実行
IntelliJ IDEA Community Edition で、@SpringBootApplicationアノテーションがついているDemoApplicationクラスを右クリックして、[Run DemoApplication.main()]をクリックします。
すると組み込みの Tomcat が起動し、Spring Boot のアプリケーションを実行します。

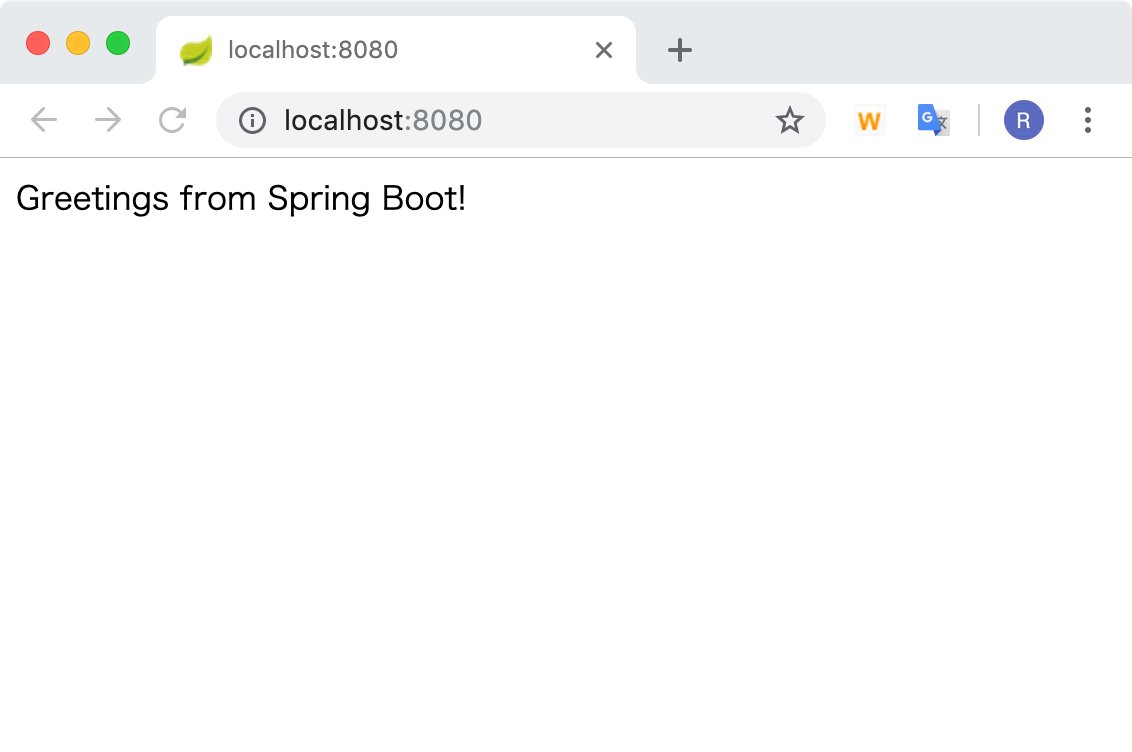
すでに Web アプリケーションは動作しているので、http://localhost:8080にブラウザでアクセスすると、以下のように API のレスポンスが表示されます。

Unit Test を追加する
pom.xmlの<dependencies>要素の下に以下の設定を追加します。
        <dependency>
            <groupId>org.springframework.boot</groupId>
            <artifactId>spring-boot-starter-test</artifactId>
            <scope>test</scope>
        </dependency>
変更を保存後、Import Changesというポップアップが表示されるのでクリックします。
なお、この設定での JUnit のバージョンは4のようなのでご注意ください。
src/testディレクトリの配下にcom.example.controllerパッケージを作成し、HelloControllerTestクラスを作成します。
package com.example.demo.controller;

import static org.hamcrest.Matchers.equalTo;
import static org.springframework.test.web.servlet.result.MockMvcResultMatchers.content;
import static org.springframework.test.web.servlet.result.MockMvcResultMatchers.status;

import org.junit.Test;
import org.junit.runner.RunWith;
import org.springframework.beans.factory.annotation.Autowired;
import org.springframework.boot.test.autoconfigure.web.servlet.AutoConfigureMockMvc;
import org.springframework.boot.test.context.SpringBootTest;
import org.springframework.http.MediaType;
import org.springframework.test.context.junit4.SpringRunner;
import org.springframework.test.web.servlet.MockMvc;
import org.springframework.test.web.servlet.request.MockMvcRequestBuilders;

@RunWith(SpringRunner.class)
@SpringBootTest
@AutoConfigureMockMvc
public class HelloControllerTest {

    @Autowired
    private MockMvc mvc;

    @Test
    public void getHello() throws Exception {
        mvc.perform(MockMvcRequestBuilders.get("/").accept(MediaType.APPLICATION_JSON))
                .andExpect(status().isOk())
                .andExpect(content().string(equalTo("Greetings from Spring Boot!")));
    }
}
HelloControllerTestクラスを右クリックして、[Run HelloControllerTest]をクリックすると、以下のようにテストがパスしていることが分かります。

本番環境で動作させるための設定追加
Spring Boot を本番環境で動作させるための、actuator module というものがあります。
設定は、pom.xmlの<dependencies>要素の下に以下の設定を追加します。
        <dependency>
            <groupId>org.springframework.boot</groupId>
            <artifactId>spring-boot-starter-actuator</artifactId>
        </dependency>
変更を保存後、Import Changesというポップアップが表示されるのでクリックします。
IntelliJ IDEA Community Edition の Terminal で以下のコマンドを実行して、Spring Boot プロジェクトを起動します。
$ ./mvnw package && java -jar target/demo-0.0.1-SNAPSHOT.jar
コマンドラインから、ヘルスチェックを行うことができるようになります。
$ curl localhost:8080/actuator/health
{"status":"UP"}
おわりに
この記事は重要な説明が抜けてしまっているので、英語に抵抗がない方は原文も参照することをおすすめします。
Spring 公式の Getting Start は多くの記事があるので、いろいろ試すといいでしょうね。